Introduction:
In this Blog, we will
see how to Create and Modify Site map in Model Driven Apps/ Dataverse
Environment
Implementation Steps:
Consider you have 2 Different teams available in your Organization,
1. Sales Team
2. Pay Roll Team
If Sales Team Logged into Dataverse environment they need to see only their Respective Entities in Site Map, the same way for Pay Roll Team as well.
So Come across this scenario, we can create 2 different Model-Driven Apps and we can share the same to Respective Teams.
To Create a Model-Driven Apps
1. Navigate to https://make.powerapps.com
2. Click On Apps

3. Then Select Model Driven Apps
4. Once You Selected it will prompt you with two option,
a. Classic Mode
b. Modern App Designer.

Lets Start looking Classic Mode
1. Once You selected ok for Classic Mode it will take you to App Creation page, Enter your App Name, Unique name will be auto populated from App name.
If you have any Images you can select and click on Done

2. App Designer Page will gets loaded, Click on site map to Add the Entities

3. Enter the Area name, Group name

4. Then Click On New Subarea and Select the Entities

That's it, Click on Save and Publish then Run the App to view the Designers
b. Modern App Designer
1. Once you select Modern App Designer, You will be request to Enter Model Driven App name

2. Click Add Page button in the Body of screen
3. Then Select Weather you want Table based View and form / Dashboard / Custom

If you select Table view and form pages you will be popped up with below screen. Select the Entities and Click Add by Selecting Show in Navigation

After clicking ok you can see the selected Entities in the Navigation

To add a new page click Add Page and you will be Popped with the Selection Screen Again

That's it.. this is how we need to Create Model Driven App in Dataverse Environment.
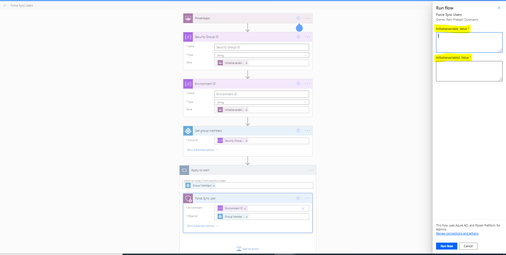
![]() Click on Test and Pass the Variables (Environment ID and Security Group ID
Click on Test and Pass the Variables (Environment ID and Security Group ID


