Introduction:
In this blog, we will see how to work with Masking Rule in MSCRM or Dataverse.
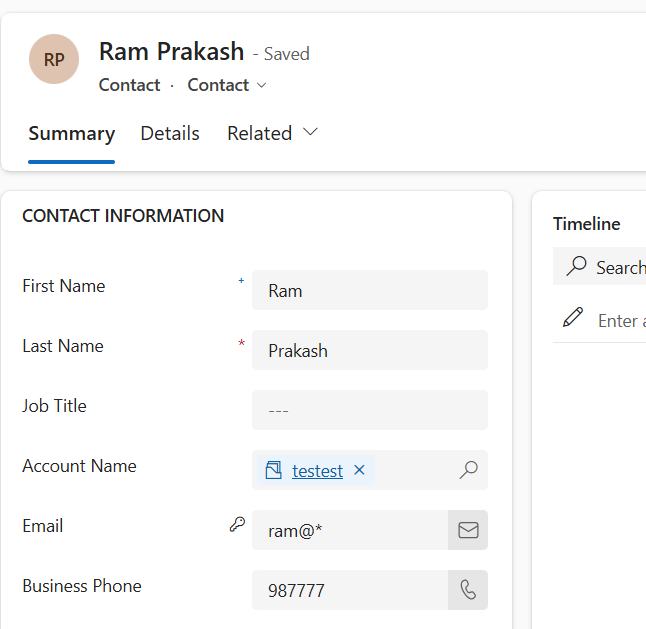
Issue : I don't want to show the Email values in Contact table. For example if i have email as ram@contosso.com i need to only show ram* (here * denotes masking).
Steps to Achieve:
- Navigate to https://make.poweapps.com
- Choose your respective Environment
- Go to your solution and open the solution
- Now if you click on New you will see 2 Options
- Attribute Masking Rule - You can mask the attribute based on SECURED MASKING RULE
- Secured Masking Rule - RULE TO BE DEFINED
- Attribute Masking Rule - You can mask the attribute based on SECURED MASKING RULE
- Now first Click on SECURED MASKING RULE
- Once you clicked it will prompt a page
- You need to define your rule like below
Name : Input your valid name with _
Display Name : Input your display Name
Description : Explain about your Rule
Regular Expression : You can input your expression, for me i need to hide my domain so i used (?<=@).*$
Masked Character : How you want to show your Masked Character
Enter Plain Text : For testing you can input your Name
Masked Plain Text : You can see your demo Value
- You need to define your rule like below
- Once done click Save
- Now Create an Attribute Masking
- Before Creating Attribute Masking you need to make sure your Column Security is Enabled
- You can Use Attribute Masking in 2 Places ( you can directly Select here) or You can click on New and create like below
Now save this and test it
Conclusion:
Following above steps we can achieve Masking for an Attribute.
Following above steps we can achieve Masking for an Attribute.


